
Cookies in the shape of a thumbprint made with shelled hazelnuts and butter, the centers of which are filled with a soft berry jam.
These tasty tiny cookies are simple to prepare for having a delicious recipe, and they would be a wonderful addition to your Christmas table if you waited until the last minute to get them ready.
Cookies with a thumbprint shape are often prepared using a sugar cookie dough similar to shortbread (though my recipe does not need eggs, unlike some others), and then they are topped with a variety of fillings. The most typical fillings are fruit preserves, chocolate ganache, and jam.
The cookie dough for my favorite thumbprint cookies is made with both all-purpose flour and nut flour. Nut flour gives the cookies a nutty flavor.
Both all-purpose flour and nut flour contribute to the overall texture and taste of the baked goods, which helps to keep my attention throughout the baking process.
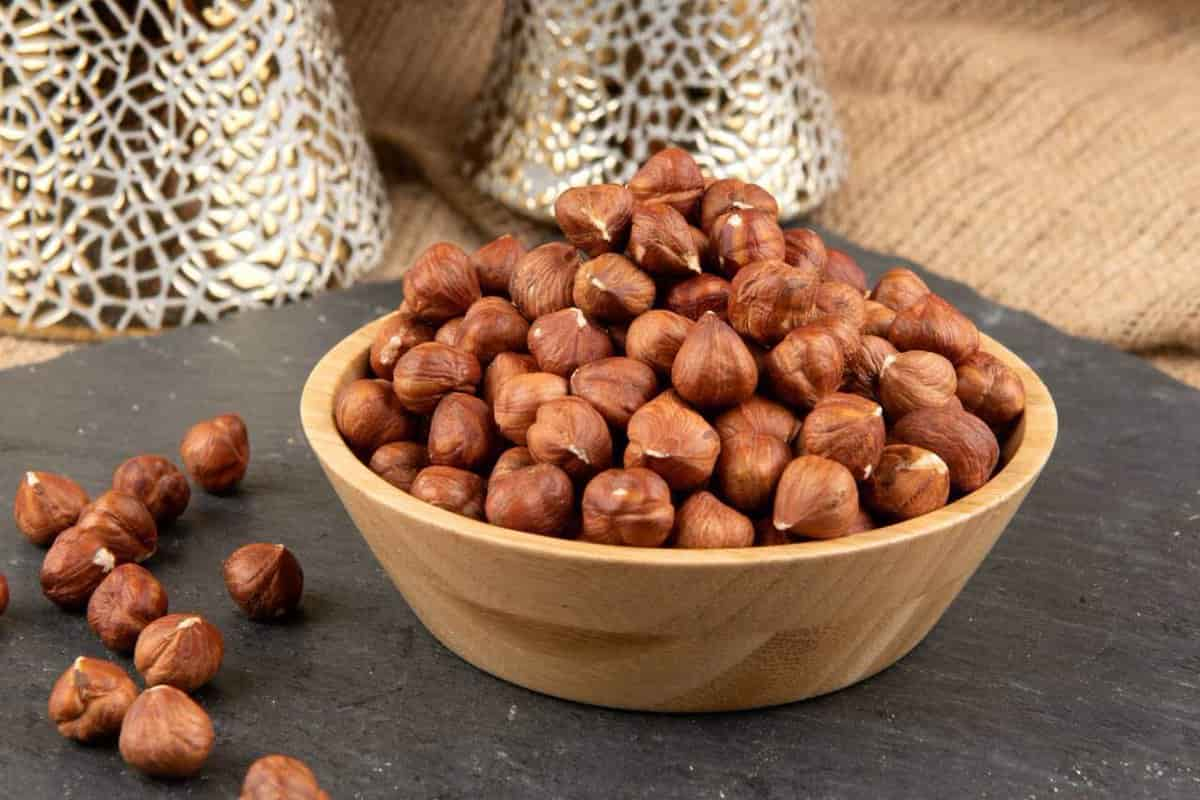
I wanted to make these thumbprint cookies more decadent for the holidays, so I used ground hazelnuts instead of regular flour.
Even though milling your hazelnuts from scratch isn’t very difficult, I prefer to buy mine already ground from the shop. I put any unused flour that I have in the freezer so that it will last for a longer period.
The cost of hazelnut flour is high because hazelnuts are one of the most expensive nuts to acquire; yet, the applications for hazelnut flour are almost limitless.
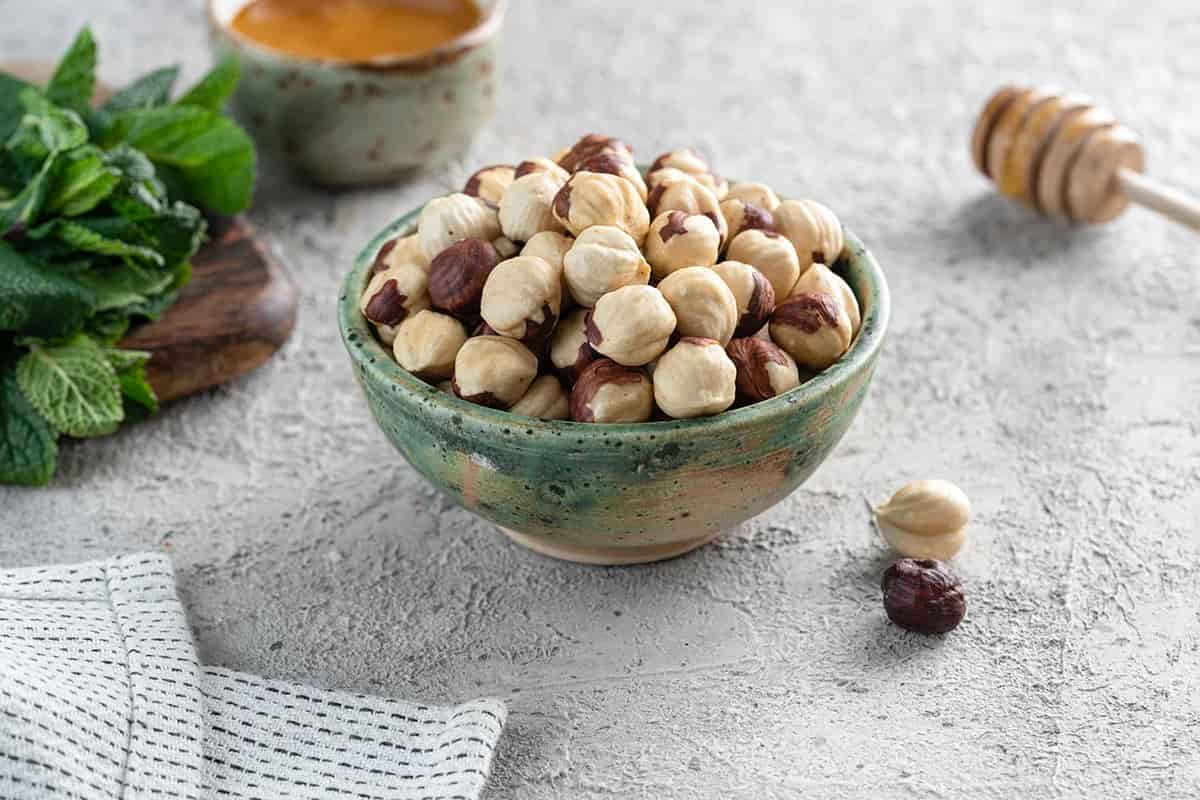
You may use almond flour meal in place of the hazelnut flour that is called for in this recipe if you do not desire to go out and get the hazelnut flour.
You may create these espresso hazelnut cookies with any remaining hazelnut flour, or you can use it as a substitution for almond flour in these almond crescent cookies or this blueberry almond cake.
The combination of different textures in thumbprint cookies is one of the aspects that I like most about them.
You get a cookie that is buttery and sandy (in the nicest way), and it comes with a filling that is on the softer side. I always go for jam thumbprint cookies first.
I infused the dough with fresh orange zest to create a flavor that goes well with hazelnut flour and filled the pastries with berry jam.
In other recipes for thumbprint cookies, the cavities are supposed to be filled before the cookies are baked. However, these will have their cavities filled after baking.
However, if you happen to have any apricot or strawberry jam lying around in the refrigerator, by all means, feel free to use that instead.
Preserves made from raspberry or mixed berries would be your best pick for these, but feel free to use whatever you have on hand.
Use a high-quality jam or preserve that has a little bit of texture, is heavy on fruit taste, and has a reduced amount of sugar in it. This is the finest piece of advice I can give you. The cookie’s sweetness is helped to be more balanced by the acidity.
If you’re searching for a cookie recipe to add to your holiday spread at the very last minute, these are a fantastic choice to consider! I hope you and your family have a wonderful Christmas season.
Cookies in the shape of thumbprints made with hazelnuts and butter, the centers of which are filled with a soft berry jam.
These adorable cookies are simple to prepare, bursting with flavor, and would be a wonderful addition to your Christmas table at the very last minute! You are welcome to use almond flour or meal in place of hazelnut flour, and you may even flavor the filling with any preserves of your choosing (apricot, raspberry, strawberry, or mixed berry).
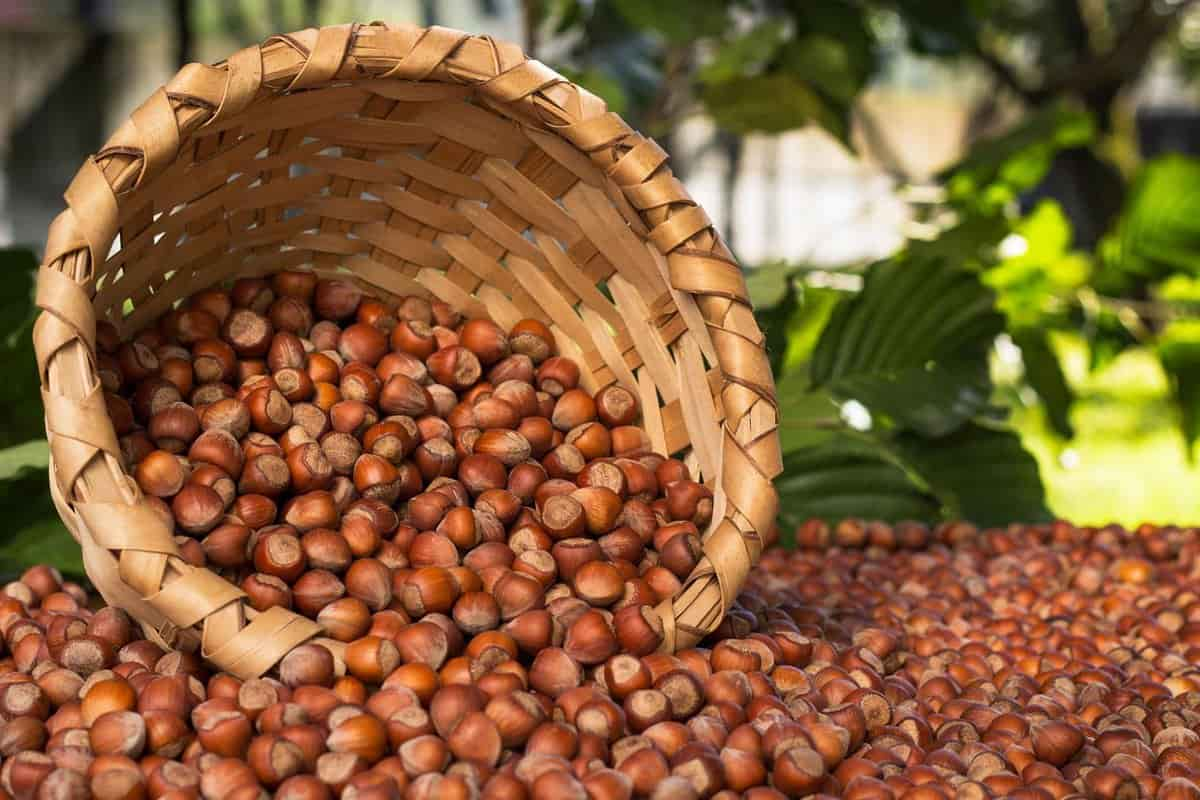
Shelled hazelnuts jam for thumbprint Cookies
The raspberry thumbprint cookies had a texture that was crunchy yet soft, and the jam added a touch of sweetness to the bite with shelled hazelnuts.
When it comes to the sweets I like to prepare for the holidays, thumbprint cookies are one of my favorites to make, so I used that. While listening to Christmas music, the lads and I organized ourselves into a production line and made cookies like it was nobody’s business while we were at it.
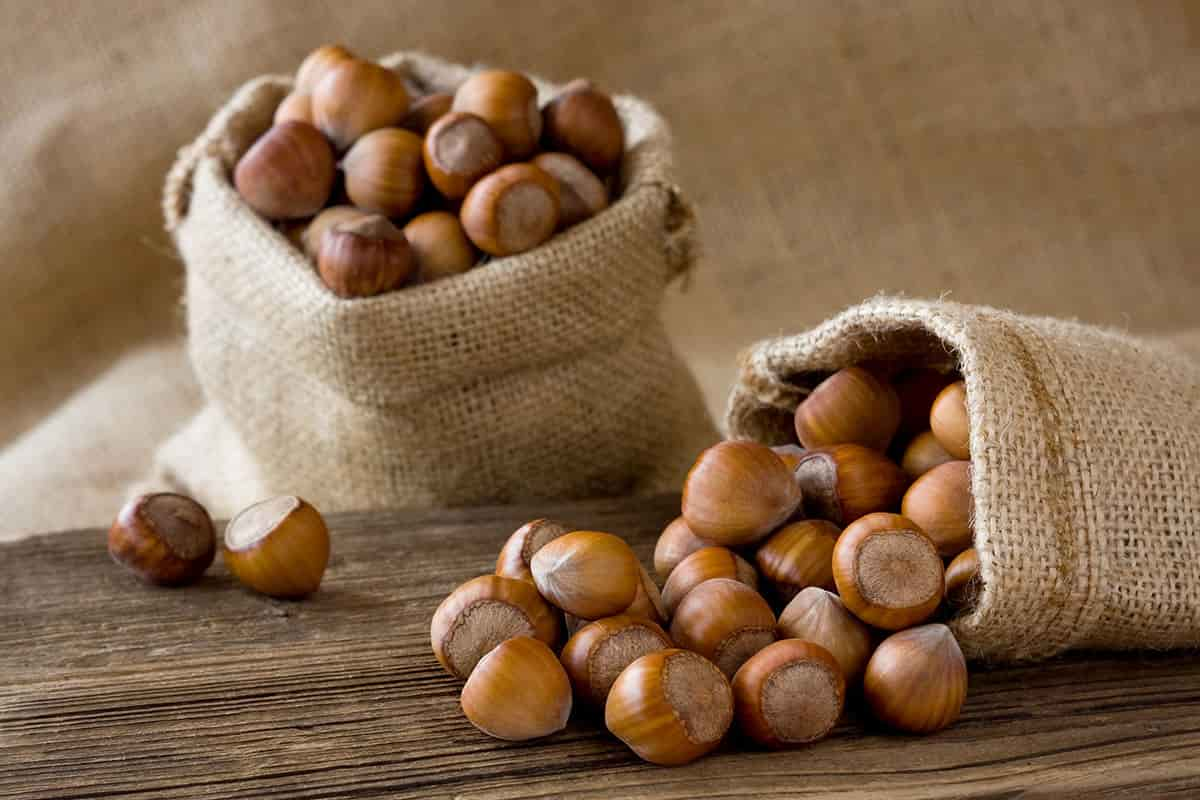
Hazelnuts: the first version of the recipe is called for toasted hazelnut flour, which may be made by roasting hazelnuts and then grinding them by hand. For the sake of convenience, I used hazelnut flour made by Bob’s Red Mill (which was not sponsored).
Buckwheat flour: buckwheat flour is free of gluten, and I used Anthony’s Good (not sponsored) buckwheat flour, which imparts a brighter color to baked items after cooking.
I used raspberry jam for the filling, but you may use whatever kind of jam you choose. It might work well to use jam made of mixed berries, strawberries, cherries, or stone fruits instead. Please remove the butter from the refrigerator.
They may be let to soften for 15 minutes before baking, which makes it much simpler to mix the sugar with the butter.
Form the dough into balls measuring one inch in diameter using a measuring spoon or a cookie scoop.
Use the bottom of a measuring cup or drinking cup to press down on the dough and flatten it.
You may make a well for the jam in the center of the cookie by using your thumb to push down the surface of the biscuit.
It is easier to get the sugar to cling to the cookies if you first brush the cookie dough with egg white before dipping them in sanding sugar.
You may bake the cookies with the jam already inside, or you can fill them with jam after baking.
To assist prevent the dough from expanding too much while it’s baking, cover it and put it in the refrigerator for 15 minutes.
The gluten-free raspberry hazelnut thumbprint cookies were a lot of fun to prepare, and they tasted even better than they looked. The boys had a wonderful time scooping out the cookies, rolling them in sugar, and using their thumbs to cut a hole in the middle of the cookie so that jam could be stuffed into it.
The thumbprint cookies had a texture that was crunchy yet soft, and the jam added a touch of sweetness to the bite. They were gone in a hurry, and I’d already had requests to produce more from relatives and friends. Stay tuned, because another recipe for thumbprint cookies is on its way your way.
Butter, brown sugar, and vanilla extract should be mixed in the bowl of a stand mixer equipped with the paddle attachment until the mixture is smooth and creamy, which should take approximately two minutes.
After adding the egg yolk, continue to stir the ingredients together.
In a separate dish, combine the ground hazelnuts, buckwheat flour, tapioca starch, cinnamon, and salt by whisking all of the ingredients together.
After adding the dry ingredients, continue to mix the dough on medium speed for approximately a minute, or until it is smooth and comes together.
Use a tiny cookie scoop to portion out dough balls measuring 1 inch in diameter onto baking sheets that have been prepped.
To get the desired flattening of the dough, push down gently on it using the bottom of a measuring cup.
You may make an indentation in the middle of the cookies by using your thumb to push down on the surface.
Continue doing so until all of the dough has been used.
Sanding sugar should be spread out on a dish.
Egg white should be used to glaze the dough, and then it should be dipped into the sugar plate to finish.
Repeat the process until you have eaten all of the cookies.
Put one-half of a spoonful of jam into each of the indentations.
Before you bake the cookies, place them in the refrigerator for fifteen minutes to chill.
Put the oven on to preheat to 350 degrees F.
Separate the cookies on the two prepared baking sheets by a distance of 2 inches.
Bake the cookies for approximately 12 minutes, or until they are glossy and a light golden brown.
On the baking sheet, you should let them cool fully.
If you like, you may fill the indents all the way up with more jam.
Shelled hazelnuts jam for cookies recipe
Because they are delicious for have a long history recipe associated with Christmas, cookies imprinted with shelled hazelnut jam are a holiday classic. Additionally, ground hazelnuts are used in the dough, and raspberry jam is used to fill the hollow centers after it has been baked.
People who speak English are undoubtedly familiar with them under the name thumbprint cookies.
Mostly because the indentation for the jam may be made with your thumb 😉 These Hazelnut Brittle Thumbprint Cookies are among our favorites, and not only because they are so simple to prepare but also because they have such a pleasant flavor.
In all honesty, the traditional form of these Christmas cookies and these cookies that we are discussing today is not all that unlike one another.
The dough is quite identical, except for the addition of the hazelnut brittle. Both the taste and texture of the cookies are altered somewhat as a result of adding them. In addition to following the same steps for cooking and eating them
13 and a half teaspoons of hazelnuts that have been crushed up
1¾ cups flour please refer to the notes for a variant that does not include gluten.
1 cup of butter that has been let to come to room temperature, which is equal to 16 tablespoons or 2 sticks
½ cup sugar
1 teaspoon vanilla extract
1/2 milliliter of almond extract and confectioner’s sugar for sprinkling or dusting.
Around one and a half cups of jelly Raspberry and peach are my two favorite kinds of fruit to eat.
Increase the temperature in the oven to 350 degrees Fahrenheit.
Utilizing a whisk, combine the flour and ground hazelnuts in a single bowl.
After thoroughly combining the butter and sugar, the mixture should be beaten at a medium speed for about three to four minutes to get a frothy and airy consistency. After adding the extracts, you should give the mixture a good whipping before using it.
After you have added the flour and ground hazelnuts to the butter and sugar, mix all of the ingredients for a period that is sufficient to incorporate the flour and hazelnuts into the dough.
To bake the cookies, first, shape the dough into balls the size of a walnut, then arrange the balls on a baking sheet lined with parchment paper at a distance of at least two inches between each other.
To make a hole in the middle of each cookie, you may use the pinkie of your ring finger or the end of a wooden spoon with a circular handle. Alternatively, you can use a straw. You may even drink via a straw if you like. To avoid the cores from overheating and burning, you must take care to pierce them no farther than about halfway through at the most.
Bake for 15 to 18 minutes, flipping the pans around about halfway through the cooking time to achieve equal browning.
When the cookies are done baking, you will notice that they have a very little hint of a golden color to them. You should not consider them at all, regardless of whether or not you are confident whether or not they are useful.
After the cookies have been allowed to set for roughly two minutes, they should then be transferred to a wire rack so that they may continue to cool.
A little coating of powdered sugar needs to be used on them.
If you warm the jam up before filling the cookies, you will find that the process is much more streamlined.
To prevent food from sticking together during storage, layer it with parchment or waxed paper.


Your comment submitted.